
Review · WELLINGTON
From Wellington: Remutaka Rail Trail eBike Tour
The best part of this 28km eBike ride is the change in scenery. You start in native bush near Kaitoke, pedal through old railway tunnels, cross a swing bridge, then descend toward the open farmland of the Wairarapa. It feels like a proper journey, not a short spin around a park.
I like the well-chosen route and the freedom to ride independently after a clear briefing. I also like the practical extras: a properly fitted eBike, headlight, repair kit, GPS tracker, packed lunch, and a shuttle back to Wellington. The main consideration is the final single-lane section, which is narrower and more awkward than the rest of the trail.
Key points to know
- Old railway tunnels: Your headlight matters as you ride through several dark tunnels built for the former railway.
- A gentle start: The route begins with a gradual uphill through native bush, making electric assistance useful even for rusty cyclists.
- A scenic high point: The grassy summit plateau is a natural place for lunch, a drink, and a break.
- Independent riding: Your guide explains the route, but you generally ride at your own pace rather than in a constant guided group.
- A real distance: You cover about 28km, with roughly three to four hours on the bike.
- Useful Wellington timing: Pickup is at 9:30am from Wellington Station, or 9:15am at the port for cruise ship passengers, with return around 3:30pm to 4pm.
Why the Remutaka Rail Trail is worth your day
This is one of those outings where the transport is part of the experience. The white Wildfinder van collects you in Wellington and carries you to Kaitoke in Upper Hutt, about 40 minutes away. From there, the trail leads across the Remutaka Ranges and down into the Wairarapa.
The route follows the old railway corridor, so the ride has a clear sense of place. Information boards explain the hard work involved in building and operating the Fell railway, including the tunnels, bridges, and former settlements along the line. You are not just pedaling from point A to point B. You are following an old piece of New Zealand transport history.
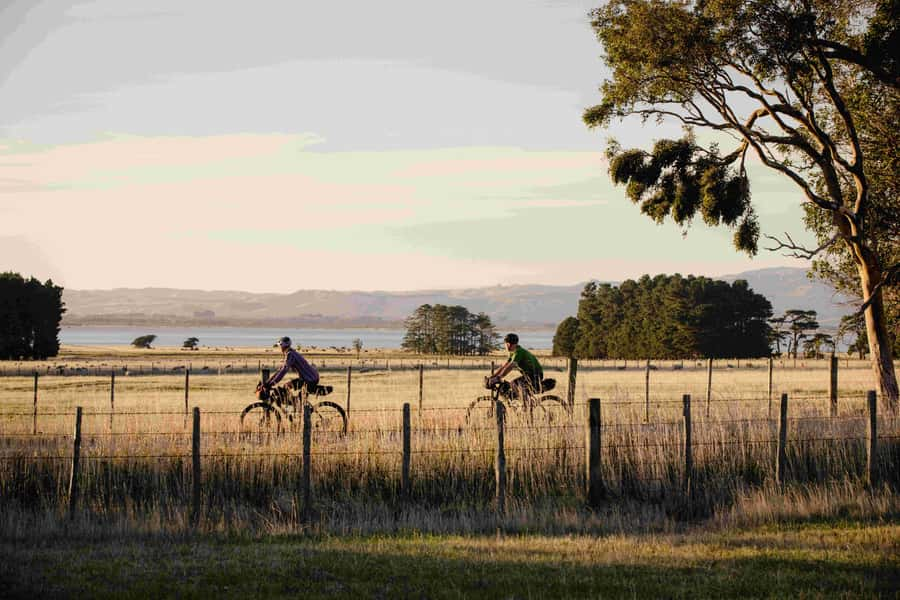
I especially like the variety. The ride begins under trees, moves through enclosed tunnels, opens onto mountain views, and finishes among farmland. The scenery changes often enough to keep the day interesting, while the old railway details give the route some substance.
At $131 per person, this is not a bargain-priced bicycle hire. But the cost includes the eBike, helmet, repair kit, packed lunch, water, maps, emergency first aid supplies, GPS tracking, two shuttle journeys, and the staff time needed to fit and explain the equipment. If you would otherwise need to arrange transport on both sides of the trail, the price makes more sense.
More E-Bike Tours in New Zealand
- The Classic: our most popular electric bike tour of Auckland’s Highlights
★ 5.0 · 497 reviews - Guided Wellington Tour by Electric Bike
★ 5.0 · 210 reviews - Wellington Electric Bike Rental
★ 5.0 · 159 reviews
From Wellington Station to Kaitoke
You have two pickup choices. The standard pickup is at 9:30am at the main entrance of Wellington Station. Cruise ship passengers can arrange a 9:15am pickup directly at Wellington Port, but you need to tell the operator in advance and wait for the white Wildfinder van with its bike trailer.
The port timing deserves careful attention. You should not board a cruise shuttle instead, and the van cannot wait for late arrivals. The return is expected around 3:45pm to 4pm, so check your sailing time before booking. The operator does not provide hotel pickup or drop-off.
The drive to Kaitoke takes about 40 minutes. This is useful time for the guide to explain the route and conditions. Sam, James, and Isaac William have all led the transfer and briefing on different departures, with the focus on clear instructions, trail conditions, and how to use the bikes.
At the start, staff adjust the bike to your height and riding preferences. That matters more than it sounds. A badly fitted bicycle can make a long ride uncomfortable, while the electric motor gives you room to manage hills without turning the day into a fitness test.
A gradual climb through native bush
The first part of the ride heads uphill at an easy to moderate pace. It is a gradual incline rather than a sharp climb, but you still need to pedal and steer for several hours. The eBike assistance takes the sting out of the climb, which is why the route can suit people who have not ridden for years.
You should still have a reasonable level of fitness. Electric power does not remove the need to balance, brake, turn, and stay alert. If you have not been on a bike for a long time, listen closely during the briefing and use a lower speed while you get comfortable.
The native bush gives the opening section a cool, enclosed feel. It is a good contrast with the wide views later in the day. The trail surface is generally easy enough for confident riders, but you should control your speed and leave room for other people.
This is a self-guided ride in the practical sense. You receive maps, directions, and an explanation of what lies ahead, then set off on your own or with the group at a comfortable pace. That works well if you like stopping for photos or reading the information boards instead of staying beside a guide every minute.
Headlights on inside the railway tunnels
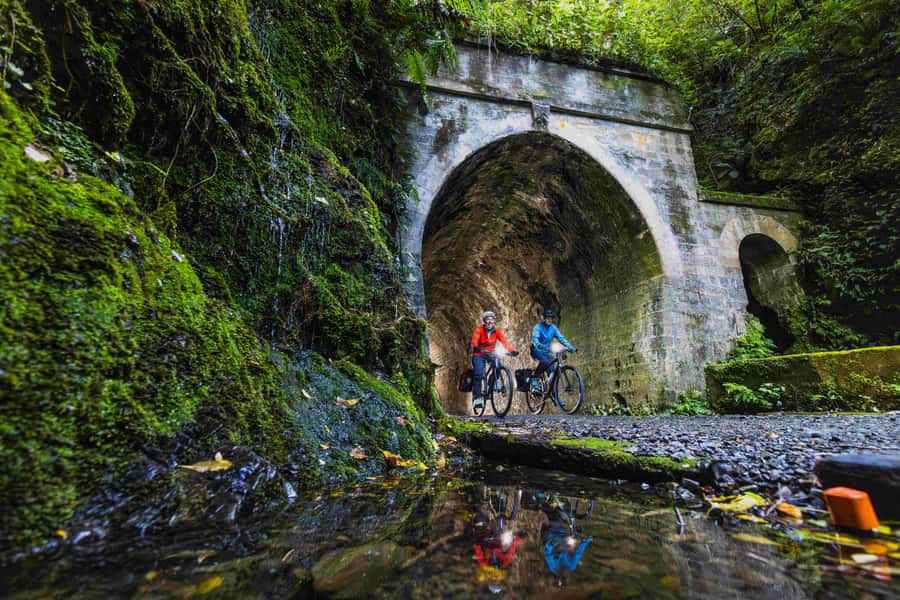
The tunnels are the route’s most memorable feature. You turn on the supplied headlight and ride into genuine darkness, following the old rail alignment through the mountain.
The tunnels are not just photo props. They show the scale of the railway project and make the history easier to understand. A sign beside a trail feature can tell you what happened, but pedaling through a dark passage gives you a physical sense of the work involved.
If enclosed spaces make you nervous, ask questions before setting off. The operator provides headlights, but you still need to feel comfortable riding a bicycle in low light. The staff explain the tunnel sections in advance, which helps less experienced riders prepare.
The information boards are worth stopping for, although you need to watch the clock. The riding portion is listed as roughly three hours in the itinerary, while the full distance can take three to four hours depending on pace and stops. A rider who wants to read every sign, take photographs, and enjoy a long lunch may feel the schedule is a little tight.
Same roads, a different ride:
- Self-Guided Wine Tours by Bike with Lorelle & Greg
★ 5.0 · 304 reviews - CHP Bike Rentals Cromwell
★ 5.0 · 280 reviews - Marlborough: Full-Day Self-Guided Biking Wine Tour
★ 4.7 · 221 reviews - Queenstown: Arrowtown To Queenstown Biking Adventure
★ 4.8 · 212 reviews
The summit plateau and packed lunch
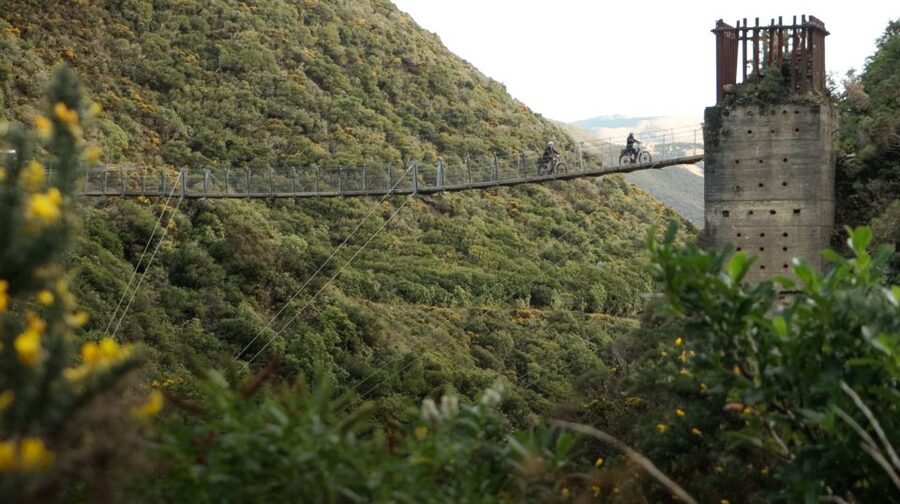
At the summit, the trail reaches a broad grassy plateau. This is the natural pause in the journey. You can get off the bike, stretch your legs, eat lunch, and take in the mountain setting before the descent begins.
A packed lunch and water are included. The lunch is described as generous and filling, with dietary needs such as vegan and dairy-free options catered for when requested. That is a useful detail because there is no promise of a shop or café along the remote section of the trail.
Bring your own bottle only if you prefer a particular size or drink. The supplied water covers the basic need, but cycling for several hours can make hydration important, especially on a warm day.
The summit is also where you should check your energy and bike comfort. The next stage is mostly downhill, but the ride is far from over. You still have the route to Cross Creek, a narrow two-kilometre section, and then about 10 kilometres on a quiet road and separate cycle path toward Featherston.
The descent to Cross Creek
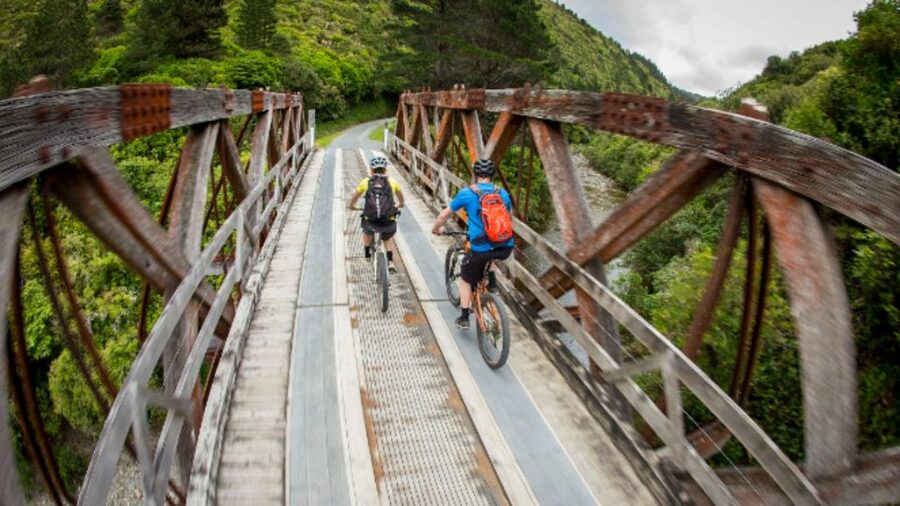
From the summit, the route drops toward Cross Creek in the Wairarapa. The descent is described as fun and easy to control, but you should not treat it like a race. Use the brakes early, keep your speed comfortable, and pay attention to the surface.
The scenery opens up as you leave the mountain bush behind. You see broad farmland and the quieter rural side of the Wairarapa. This change is one of the strongest reasons to choose the full route rather than a short out-and-back ride.
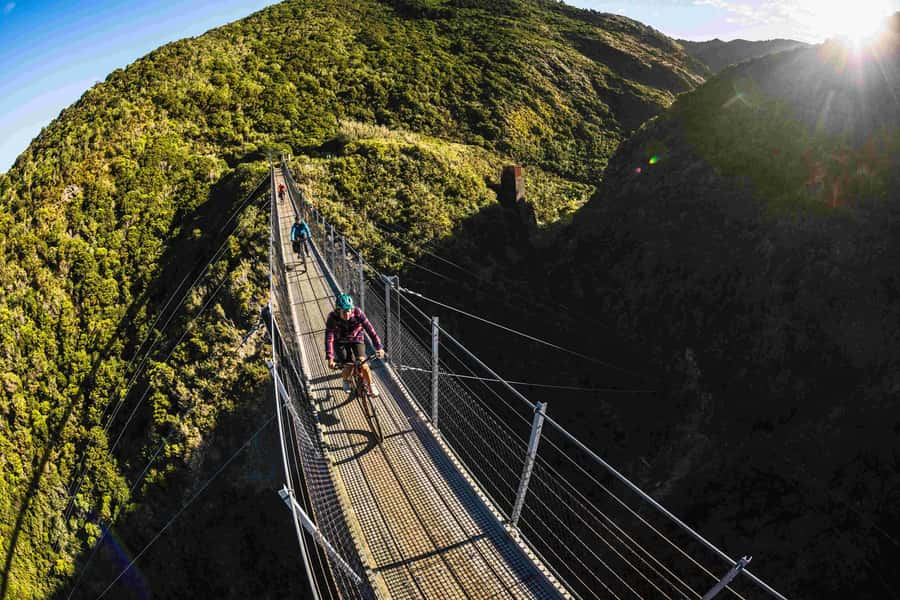
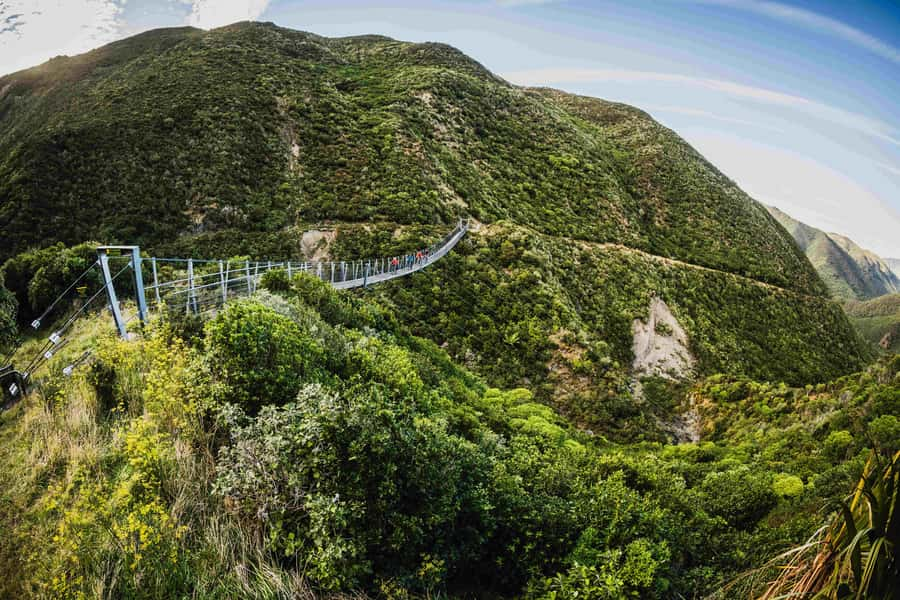
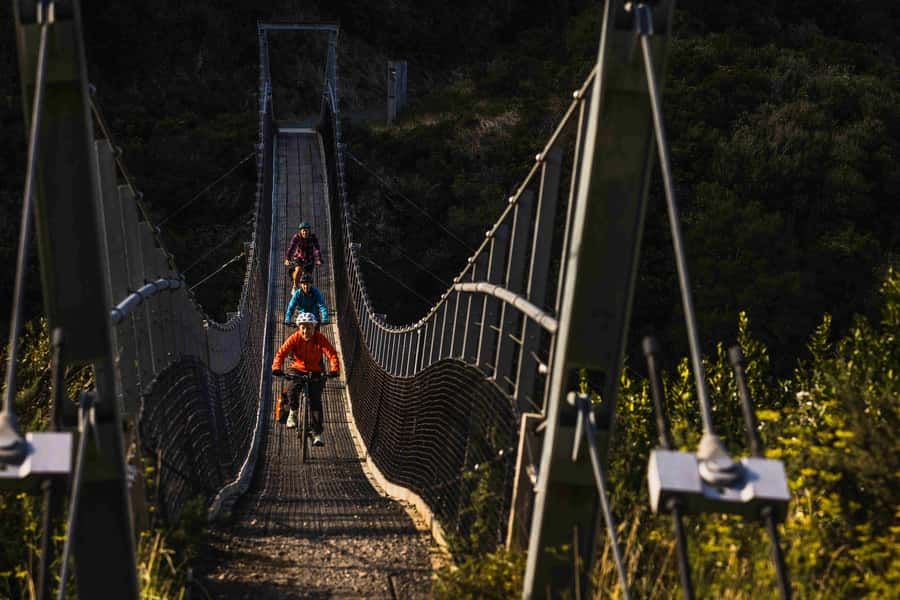
A swing bridge adds another memorable moment. It gives you mountain views and a different kind of challenge, particularly if you are not used to crossing a narrow bridge with a bicycle. The route briefing covers what to expect, so you can adjust your pace and approach.
The bridge and descent are best enjoyed with a little caution. You are responsible for managing your own bike, and the ride is not suitable for anyone who cannot ride a bicycle or who needs mobility assistance.
The narrow final two kilometres
The last two kilometres to the car park are the section to take most seriously. It is a single-lane track and can feel more technical than the broad railway corridor. Some riders may find it narrow or unsettling, especially after several hours in the saddle.
You might need to slow down considerably, and the right response is to adapt to your ability rather than copy a faster rider. The guide gives you warning before the ride, so you know this part is coming.
This short section does not ruin the outing, but it changes the rhythm. The earlier trail feels forgiving and open. Here, you need more concentration, careful braking, and confidence on a bicycle. If you are a nervous cyclist, tell the guide at the start and take the section at your own pace.
The eBike helps with distance and hills, but it does not make narrow riding automatic. That is the key distinction for anyone booking this as an easy day out.
Ten kilometres through Wairarapa farmland
Once you reach the car park, the route continues north for about 10 kilometres toward Featherston. You follow a quiet road with a separate cycle path, passing through farmland on the way to the town.
This final stretch is less dramatic than the tunnels and mountain views, but it gives the journey a satisfying finish. You have crossed from the Wellington side of the ranges into the Wairarapa by bicycle, following a route that links two different regions.
The shuttle collects you in Featherston at about 2:15pm. Depending on the day, you may have time to sit down at a café, pub, or restaurant before departure. Do not assume every venue will be open, though. One departure found few options for a post-ride drink, so treat Featherston refreshment time as a possibility, not a guaranteed part of the tour.
The van then returns to Wellington Station in roughly an hour. Port passengers are taken back to Wellington Port, with the expected arrival between 3:45pm and 4pm.
What the eBike changes
The eBike is the reason this route works for a broad range of riders. People who have not cycled in five or twenty years can use the motor assistance to handle the gradual climb and long distance. You still get the movement and fresh air without needing the fitness of a strong road cyclist.
You should think of the bike as assistance, not a substitute for riding skill. You need to be able to start, stop, steer, balance, and ride for several hours. The tour is not suitable for children under 10, people who cannot ride, people with mobility impairments, visually impaired people, or pregnant women.
Closed-toe shoes are required. Sandals and flip-flops are not allowed. Wear clothing that can handle changing weather, and remember that the route may feel cool in the mountains even when Wellington is mild.
Bad weather can also cancel the outing if conditions look unsafe or thoroughly miserable. That is sensible for a remote cycle route with tunnels, bridges, and a long return transfer.
Support that makes the day easier
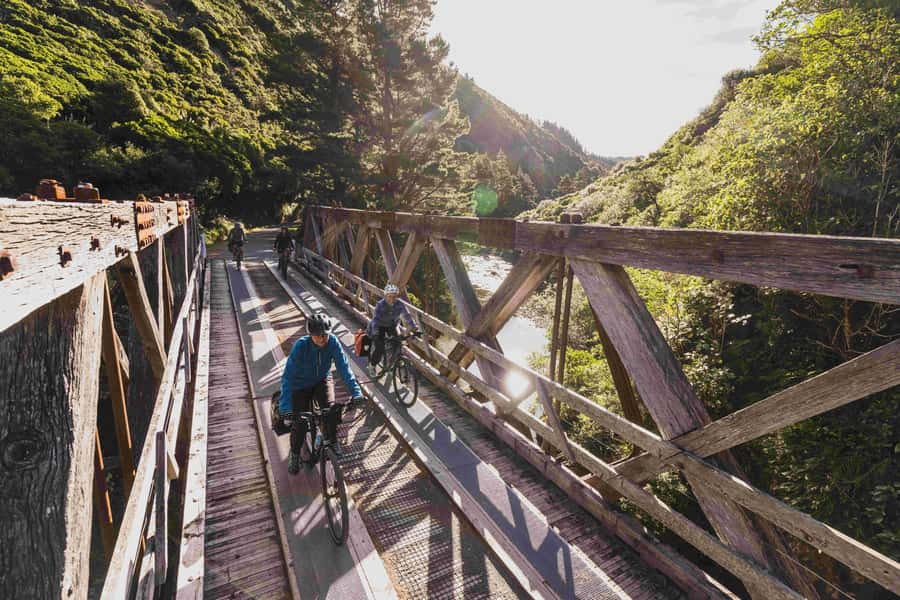
The practical setup is strong. You receive:
- A fitted electric bike and helmet
- A repair kit
- Headlights for the tunnels
- Packed lunch and water
- Maps and route information
- First aid equipment
- A GPS tracker for emergencies
- Shuttle transport from Wellington to Kaitoke and from Featherston back to Wellington
The GPS tracker is particularly useful because the ride is self-guided and crosses a fairly remote area. It means the operator can keep track of your progress and coordinate help if needed. One rider noted that the guide was already waiting in Featherston after using the tracker to follow the progress of a slower cyclist.
The staff do not ride beside you for the whole route. That is important to understand before booking. You get a thorough briefing and support, then ride independently. If you prefer a constantly guided cycling group, this may not be your ideal format. If you like freedom and your own pace, it is a good arrangement.
Who will enjoy this ride most
I would choose this tour if you want an active Wellington day that reaches beyond the city. It suits confident beginners, occasional cyclists, and regular riders who want scenery and history without arranging logistics themselves.
It is particularly useful for people who have not cycled recently. The motor assistance, route briefing, lunch, and shuttle remove several common barriers. Solo riders can also feel comfortable because the operator provides a GPS tracker and clear pickup arrangements.
Strong cyclists may find the ride less demanding than a standard mountain-bike day. That is not a flaw. The point is to enjoy the route, stop at the railway signs, and take in the views rather than chase speed.
I would hesitate if you dislike narrow tracks, cannot ride for three to four hours, or want a fully guided ride with constant commentary. I would also avoid booking it close to a cruise departure unless you have plenty of spare time after the stated return window.
Is the $131 price fair?
For a simple bike rental, $131 would be high. For this full-day arrangement, the price is easier to justify.
You are paying for the Wellington transfer, trail drop-off, fitted eBike, safety equipment, lunch, route materials, emergency support, and the return shuttle. Organizing a one-way ride across the ranges on your own would require more planning and separate transport at both ends.
The strongest value comes from the route itself. The old tunnels, swing bridge, summit plateau, mountain views, farmland, and railway information boards give you a full experience rather than a basic equipment rental.
The only value concern is time. If you want to linger over every information board or spend a long time in Featherston, the schedule may feel brisk. Most people should have enough time to enjoy the ride, but this is still a six-hour activity with fixed transport.
Should you book the Remutaka eBike Tour?
Book it if you want to see the Remutaka Ranges actively, enjoy old railway engineering, and appreciate having the hard logistics handled for you. The route offers more variety than a routine cycle path, and the eBike makes the distance manageable for many riders.
Go in knowing that you ride independently, cover 28km, and face a narrow final section. Wear closed shoes, arrive early, request dietary needs ahead of time, and allow extra time if you are returning to a cruise ship.
For me, the combination of dark tunnels, the swing bridge, the grassy summit, and the changing scenery makes this a strong choice for a Wellington day out. It is best for a reasonably fit person who can ride a bike but does not want a punishing cycling challenge.
FAQ
How long does the Remutaka Rail Trail eBike Tour take?
The full experience lasts about six hours. The ride covers 28km and takes roughly three to four hours, depending on pace and stops.
Where does pickup take place?
Pickup is at 9:30am at the main entrance of Wellington Station. Cruise ship passengers can arrange a 9:15am pickup directly at Wellington Port.
Where does the ride start?
The shuttle takes you to Kaitoke in Upper Hutt, where you begin the ride through native bush.
Where does the ride finish?
You cycle to Featherston in the Wairarapa. A shuttle collects you there at about 2:15pm and returns you to Wellington Station or Wellington Port for cruise ship passengers.
Is the ride guided the whole way?
No. You receive route information and a detailed briefing, then ride at your own pace. The operator provides maps, emergency equipment, and a GPS tracker.
Is lunch included?
Yes. A packed lunch and water are included. Vegan and dairy-free dietary requirements can be catered for when requested.
What should I wear and bring?
You must wear closed-toe shoes. Sandals and flip-flops are not permitted. You should also be able to ride a bicycle and manage three to four hours of eBike riding.
New cycling reviews around New Zealand
- Queenstown: E-bike Hire on the Queenstown Trail★ 4.8 · 17 reviews
- Guided Scenic E-bike Tour – Ride to the Lake★ 5.0 · 12 reviews
- Queenstown: Guided E-Bike Tour with Winery Visits & Tastings★ 4.9 · 36 reviews
- Nelson to Mapua: Full-Day Cycling Self-Guided Adventure★ 4.5 · 23 reviews
- Napier: Cruise Self-Guided Cycle Ride to Winery – Half Day★ 4.6 · 19 reviews
- Napier: Art Deco Bike Ride and Wineries Loop★ 4.0 · 19 reviews
- Napier: Cape Coast Winery Tour on E-Bikes★ 4.7 · 67 reviews
- Marlborough: Half Guided and Half Self-Guided Bike Wine Tour★ 4.8 · 42 reviews
Wellington Cycling Tours, compared.
Wellington Guided eBike Tour-Cruise Shore Excursion
Read our review →Browse the lists this ride appears in